Unity was once heralded as the savior of the video game industry. It was relatively easy to use, and provided an engine/framework for multiple games rather than just one. Even as late as the early 2000s, some game companies, especially in Japan, weren’t even sharing similar engines within their own teams! Before the popularity of commercial game engines, each game was built bespoke, which had some advantages, but took a lot of time, and made each port a chore. One of the greatest things Unity provided was a relatively easy pipeline to console releases, making ports more about platform quirks than full recoding.
I remember countless interviews I did as a journalist in 2005 where the interviewee said “now that there’s engines like Unity, things are getting easier.” My game company Necrosoft has used Unity for every commercial project it has ever made.
But now I can say, unequivocally, if you’re starting a new game project, do not use Unity. If you started a project 4 months ago, it’s worth switching to something else. Unity is quite simply not a company to be trusted.
What has happened? Across the last few years, as John Riccitiello has taken over the company, the engine has made a steady decline into bizarre business models surrounding an engine with unmaintained features and erratic stability.
I’ll talk about eroding features first. Unity has internal champions for its features. Once those champions leave the company, that feature languishes and falls apart. Unity buys competing products, and then if the owner of that product leaves the company, it is no longer supported. Unity has a “stable” version of its product called the “LTS” version. More experimental features are pushed to a beta which developers can use if they’re curious. Currently we are on an LTS version that requires us to open a blank page before doing anything else, otherwise the engine simply crashes. This is because of an error Unity introduced recently which they have not fixed. It adds a couple minutes every time we open the project, and is anything but stable.
The latest and final straw is this announcement, which you may have seen some developer friends talking about.
I’ll break down some of the most important factors in this discussion:
Unity personal, which is free, now cannot be used offline.
all tiers of unity now require developers to pay a set fee of a few cents for every game that’s installed
Unity plus (which is going away), and pro, and enterprise levels all cost a subscription, and most professional developers have to use it.
different tiers of downloads and income determine how much you pay.
Unity has never made money off subscriptions, it has always made money off its ads platform (which you see in f2p mobile games, etc)
There’s a discount if you use Unity Services.
This money is meant to help with runtime issues when they can’t even get their base stable version to run without crashing.
So the problem becomes this: they are already charging a subscription, and now a per install cost on top of that. What’s the point of the subscription if we’re also paying another charge on top of that? Why wouldn’t it be free at that point?
Also, it’s on developers to sort through these two types of costs, meaning Unity has added a bunch of admin work for us, while making it extremely costly for games like Vampire Survivor to sell their game at the price they do. Vampire Survivor’s edge was their price, now doing something like that is completely unfeasible. Imagine releasing a game for 99 cents under the personal plan, where Steam takes 30% off the top for their platform fee, and then unity takes 20 cents per install, and now you’re making a maximum of 46 cents on the dollar. As a developer who starts a game under the personal plan, because you’re not sure how well it’ll do, you’re punished, astoundingly so, for being a breakout success. Not to mention that sales will now be more costly for developers since Unity is not asking for a percentage, but a set fee. If I reduce the price of my game, the price unity asks for doesn’t decrease.
This all comes out of the developer’s pocket, but publishers won’t want to be on the hook for it either – expect fewer games to be pitched with Unity going forward.
And NOW consider bundles. Each install or activation counts as something that must be paid. We did the itch.io bundle for ukraine. That was approximately a million games given out per developer. If all those were installed, developers would owe $200,000 just for having given their game to charity. It makes charity bundles completely unfeasible. We have 800,000 copies of our game Gunhouse that are owned but not yet installed. Will we be on the hook for thousands of dollars for a game we donated to charity?
[edit: they have since walked back the idea that charity bundles would be on the hook for this, but there’s no method of tracking which games came from charity bundles and which simply came from that platform through purchases, so this is bogus. I have it on good authority that they just today learned what charity bundles are and how they work.]
On top of this there is no minimum cooldown period after they change their fee, so they can raise it as they like, whenever they like. Effectively we’re all locked into an upward-only, per-install pricing model that can change whenever Unity decides they need extra revenue to make their stock look healthy. No developer would have decided to use Unity if this was the business model from the start. It proves that they’re willing to completely change things up with no notice. January is barely 4 months away, and this decision will affect titles that have been in development for years, and haven’t factored this into their budgets. If we had the option, we’d change now, but we’re too far into development. Unreal Engine, to their credit, only holds you to the EULA you signed up for, not whatever they’ve decided most recently.
I want to double down on this point – we did not sign up for this. Frankly the Unity Plus tier, which we currently use, which is going away presently, wasn’t even around when we signed up. Oh, and did I mention we’re automatically being switched to the more expensive Pro from Plus if we don’t cancel our subscription? If the agreement changes underneath you as you’re making the game, you can’t budget for it, and trust is completely lost. We did not plan for this, and it screws us massively on Demonschool, which is tracking to be our most successful game. You might say poor you, but again, we did not sign up for this and have no option to say no, since we’re close to release and this change is 4 months out. You can’t simply remake an entire game in another engine when you’ve been working on it for 4+ years.
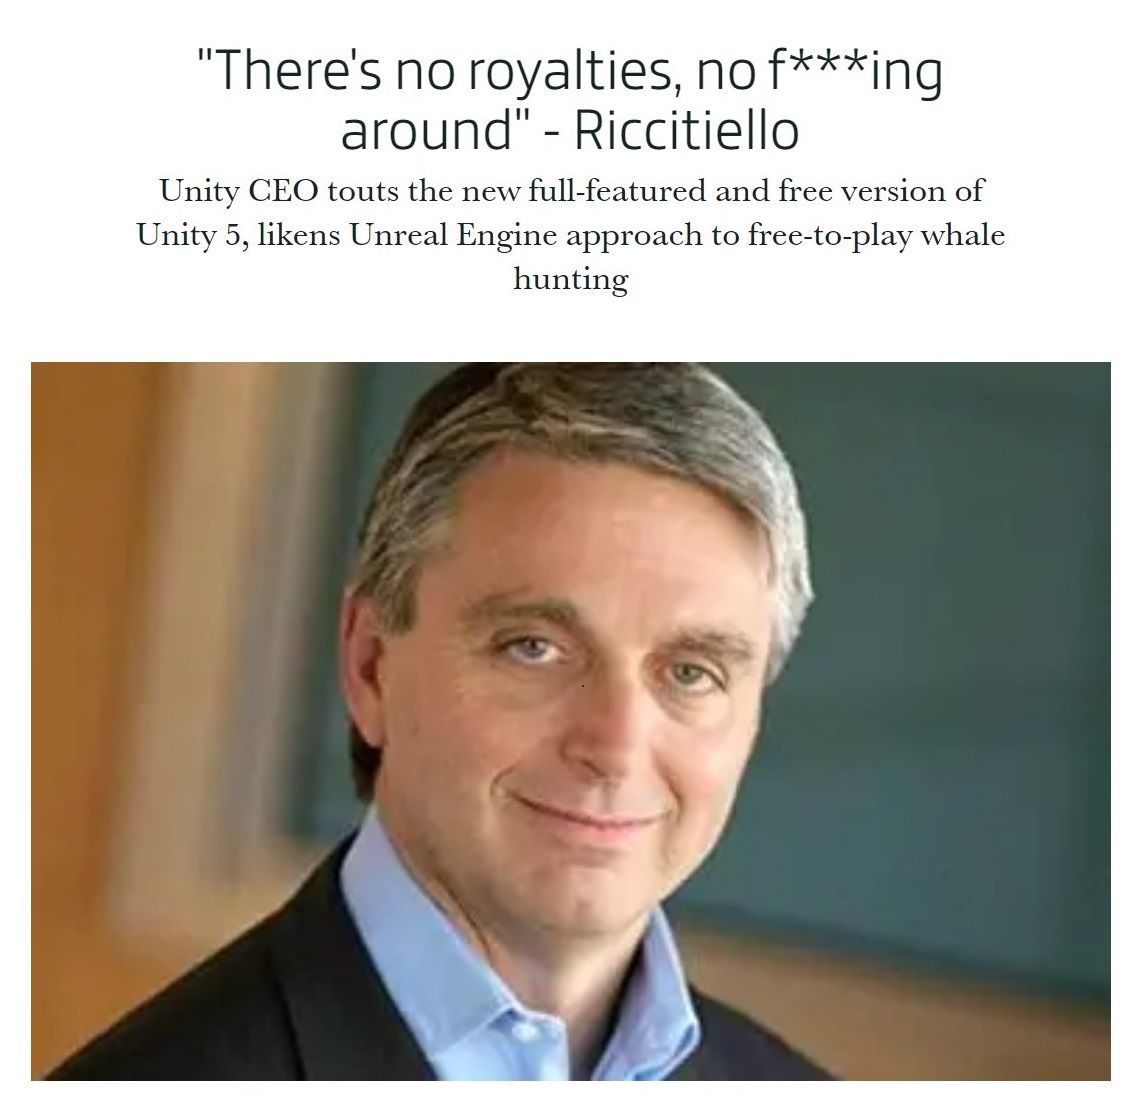
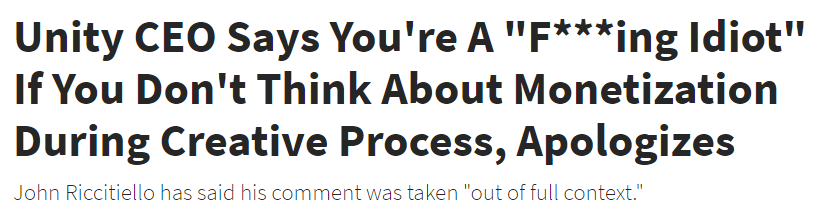
It is clear that Riccitiello never considered that people might make games for reasons other than money. At least the attitude is consistent.
There is one other critical element here – developers are being offered a reduced price if they use Unity Services. This is basically monopolistic and anti-competitive, and they will likely get sued over it. At the very least it certainly won’t encourage any technology companies to make services for Unity. What’s the point when Unity will undercut you and still force devs into licensing their own product? Expect far less offerings from third parties in the future.
Ultimately, it screws over indies and smaller devs the most. If you can afford to pay for higher tiers, you don’t pay as much of this nickle and dime fee, but indies can’t afford to on the front end, or often it doesn’t make sense in terms of the volume of games you’ll sell, but then you wind up paying more in the long term. It’ll squash innovation and art-oriented games that aren’t designed around profit, especially. It’s a rotten deal that only makes sense if you’re looking at numbers, and assume everyone will keep using your product. Well, I don’t think people will keep using their product unless they’re stuck. I know one such developer who is stuck, who’s estimating this new scheme will cost them $100,000/month on a free to play game, where their revenue isn’t guaranteed.
Unity is desperately digging its own grave in a search for gold. This is all incredibly short-sighted and adds onto a string of rash decisions and poorly thought through schemes from Unity across the last few years. It’s no wonder Riccitiello sold 2,000 shares last week.
—
(Okay his selling shares was very likely part of a normal planned sell-through package since executives can’t dump stock all at once, but I wanted to be mean and the timing is funny, so there it is.)